Managing your career portal
Permission level required: ✅ System Administrators, Entity Managers
Written By RecruiterPal Helpdesk
Last updated 3 months ago
Users with the required permission level can customize various elements of the Career Portal, including its appearance, navigation, content, and branding.
Before making any changes, access the Career Portal editor by following the steps below.
• Accessing your career portal settings
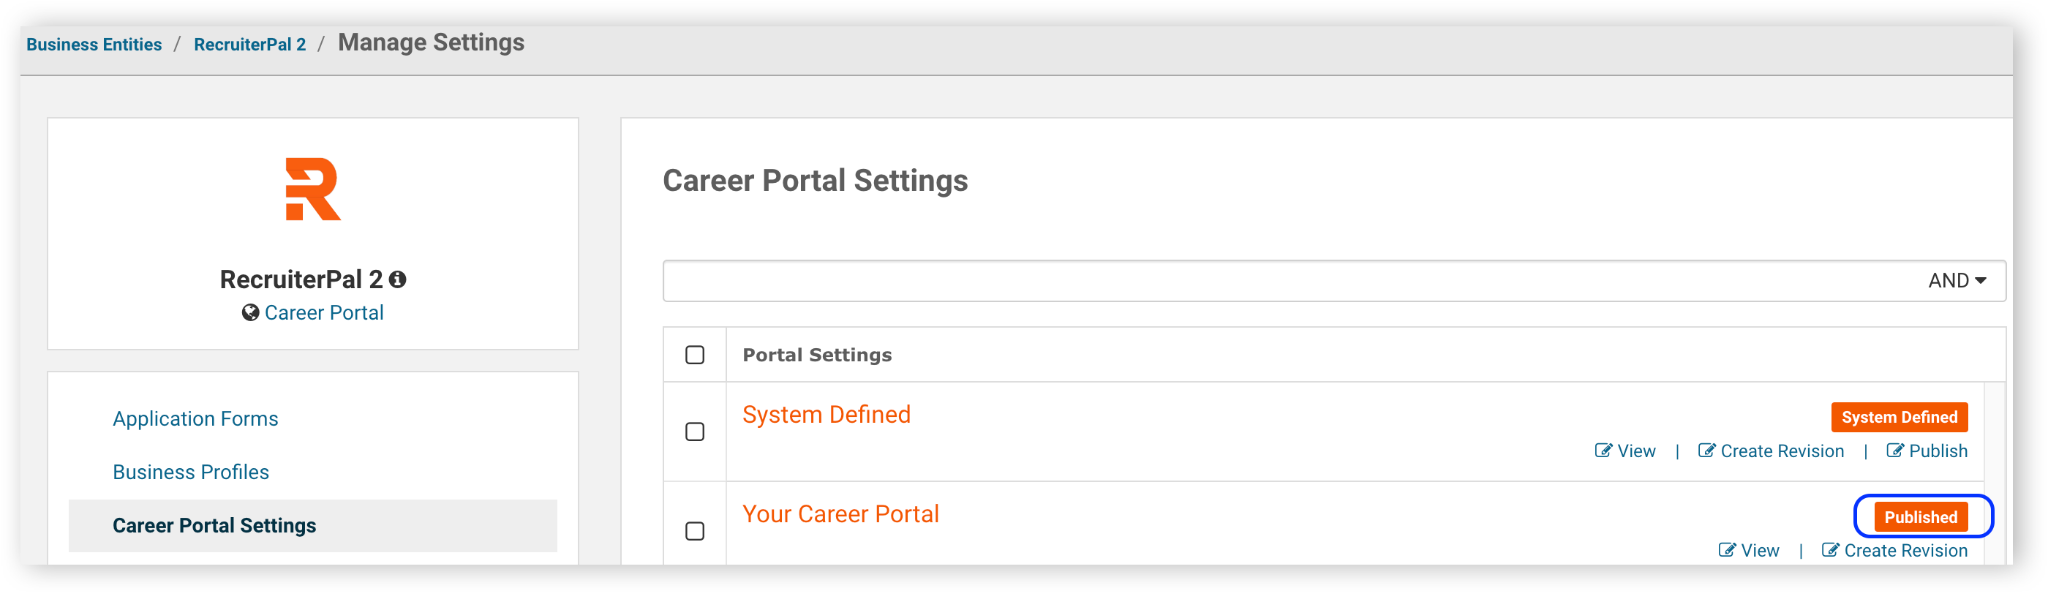
1. Click on the building icon, select Business Entity in the drop down list
2. Click on Manage Settings
3. On the left menu bar, click on Career Portal Settings
• Editing your career portal settings
1. Follow the steps in Accessing your career portal setting
2. Click on Create Revision for the row that has the orange label Published
Editing the color scheme
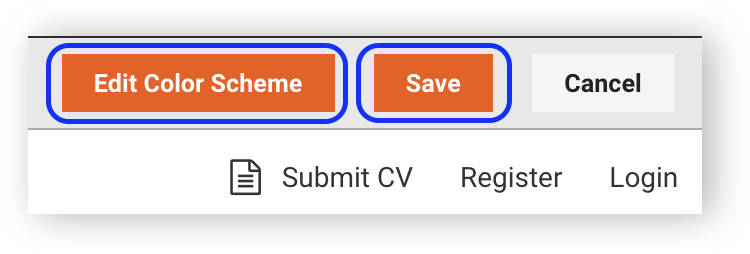
1. Click on Edit Color Scheme to open up dialog on color selection options for the career portal
2. Click Save when you are done
3. To publish the change to your career portal, click the Save button next to the Edit Color Scheme
4. Create a name for the new career portal setting and click Publish and Save
Editing the header bar
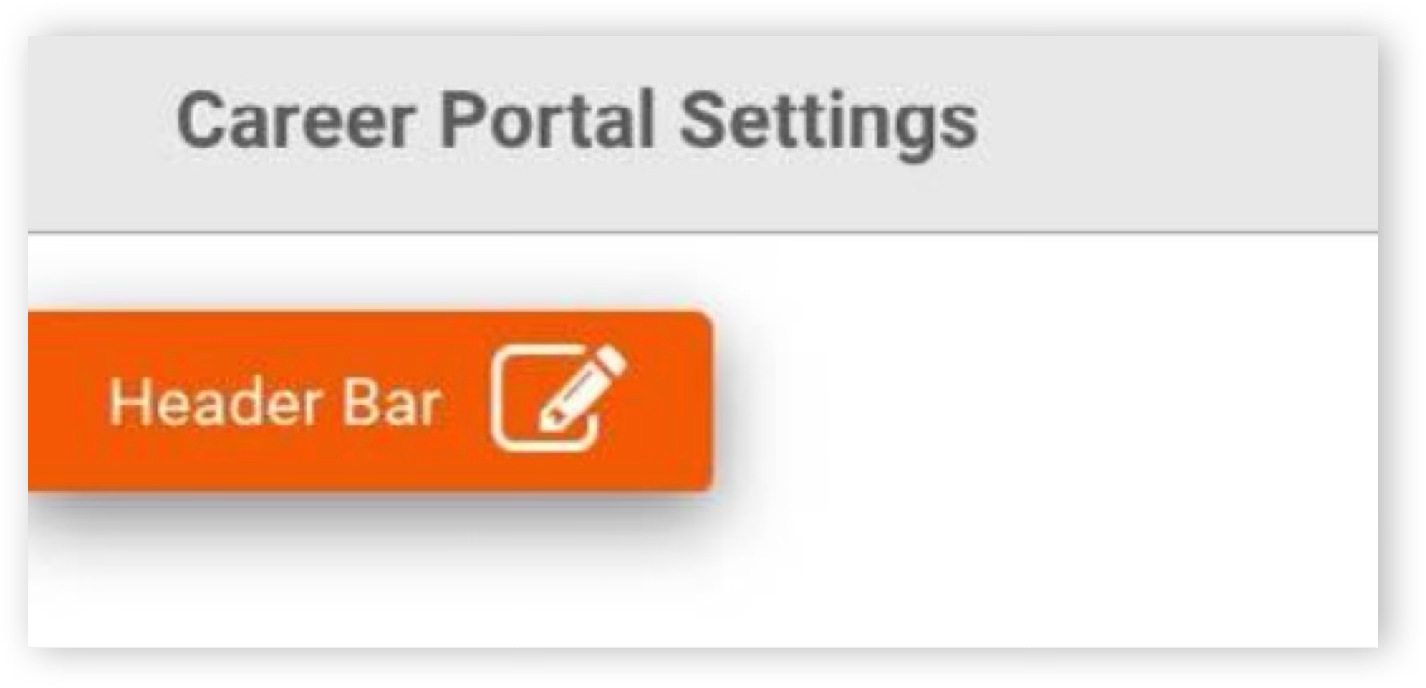
1. Hover over the left orange tab near the header bar and click on the pencil icon
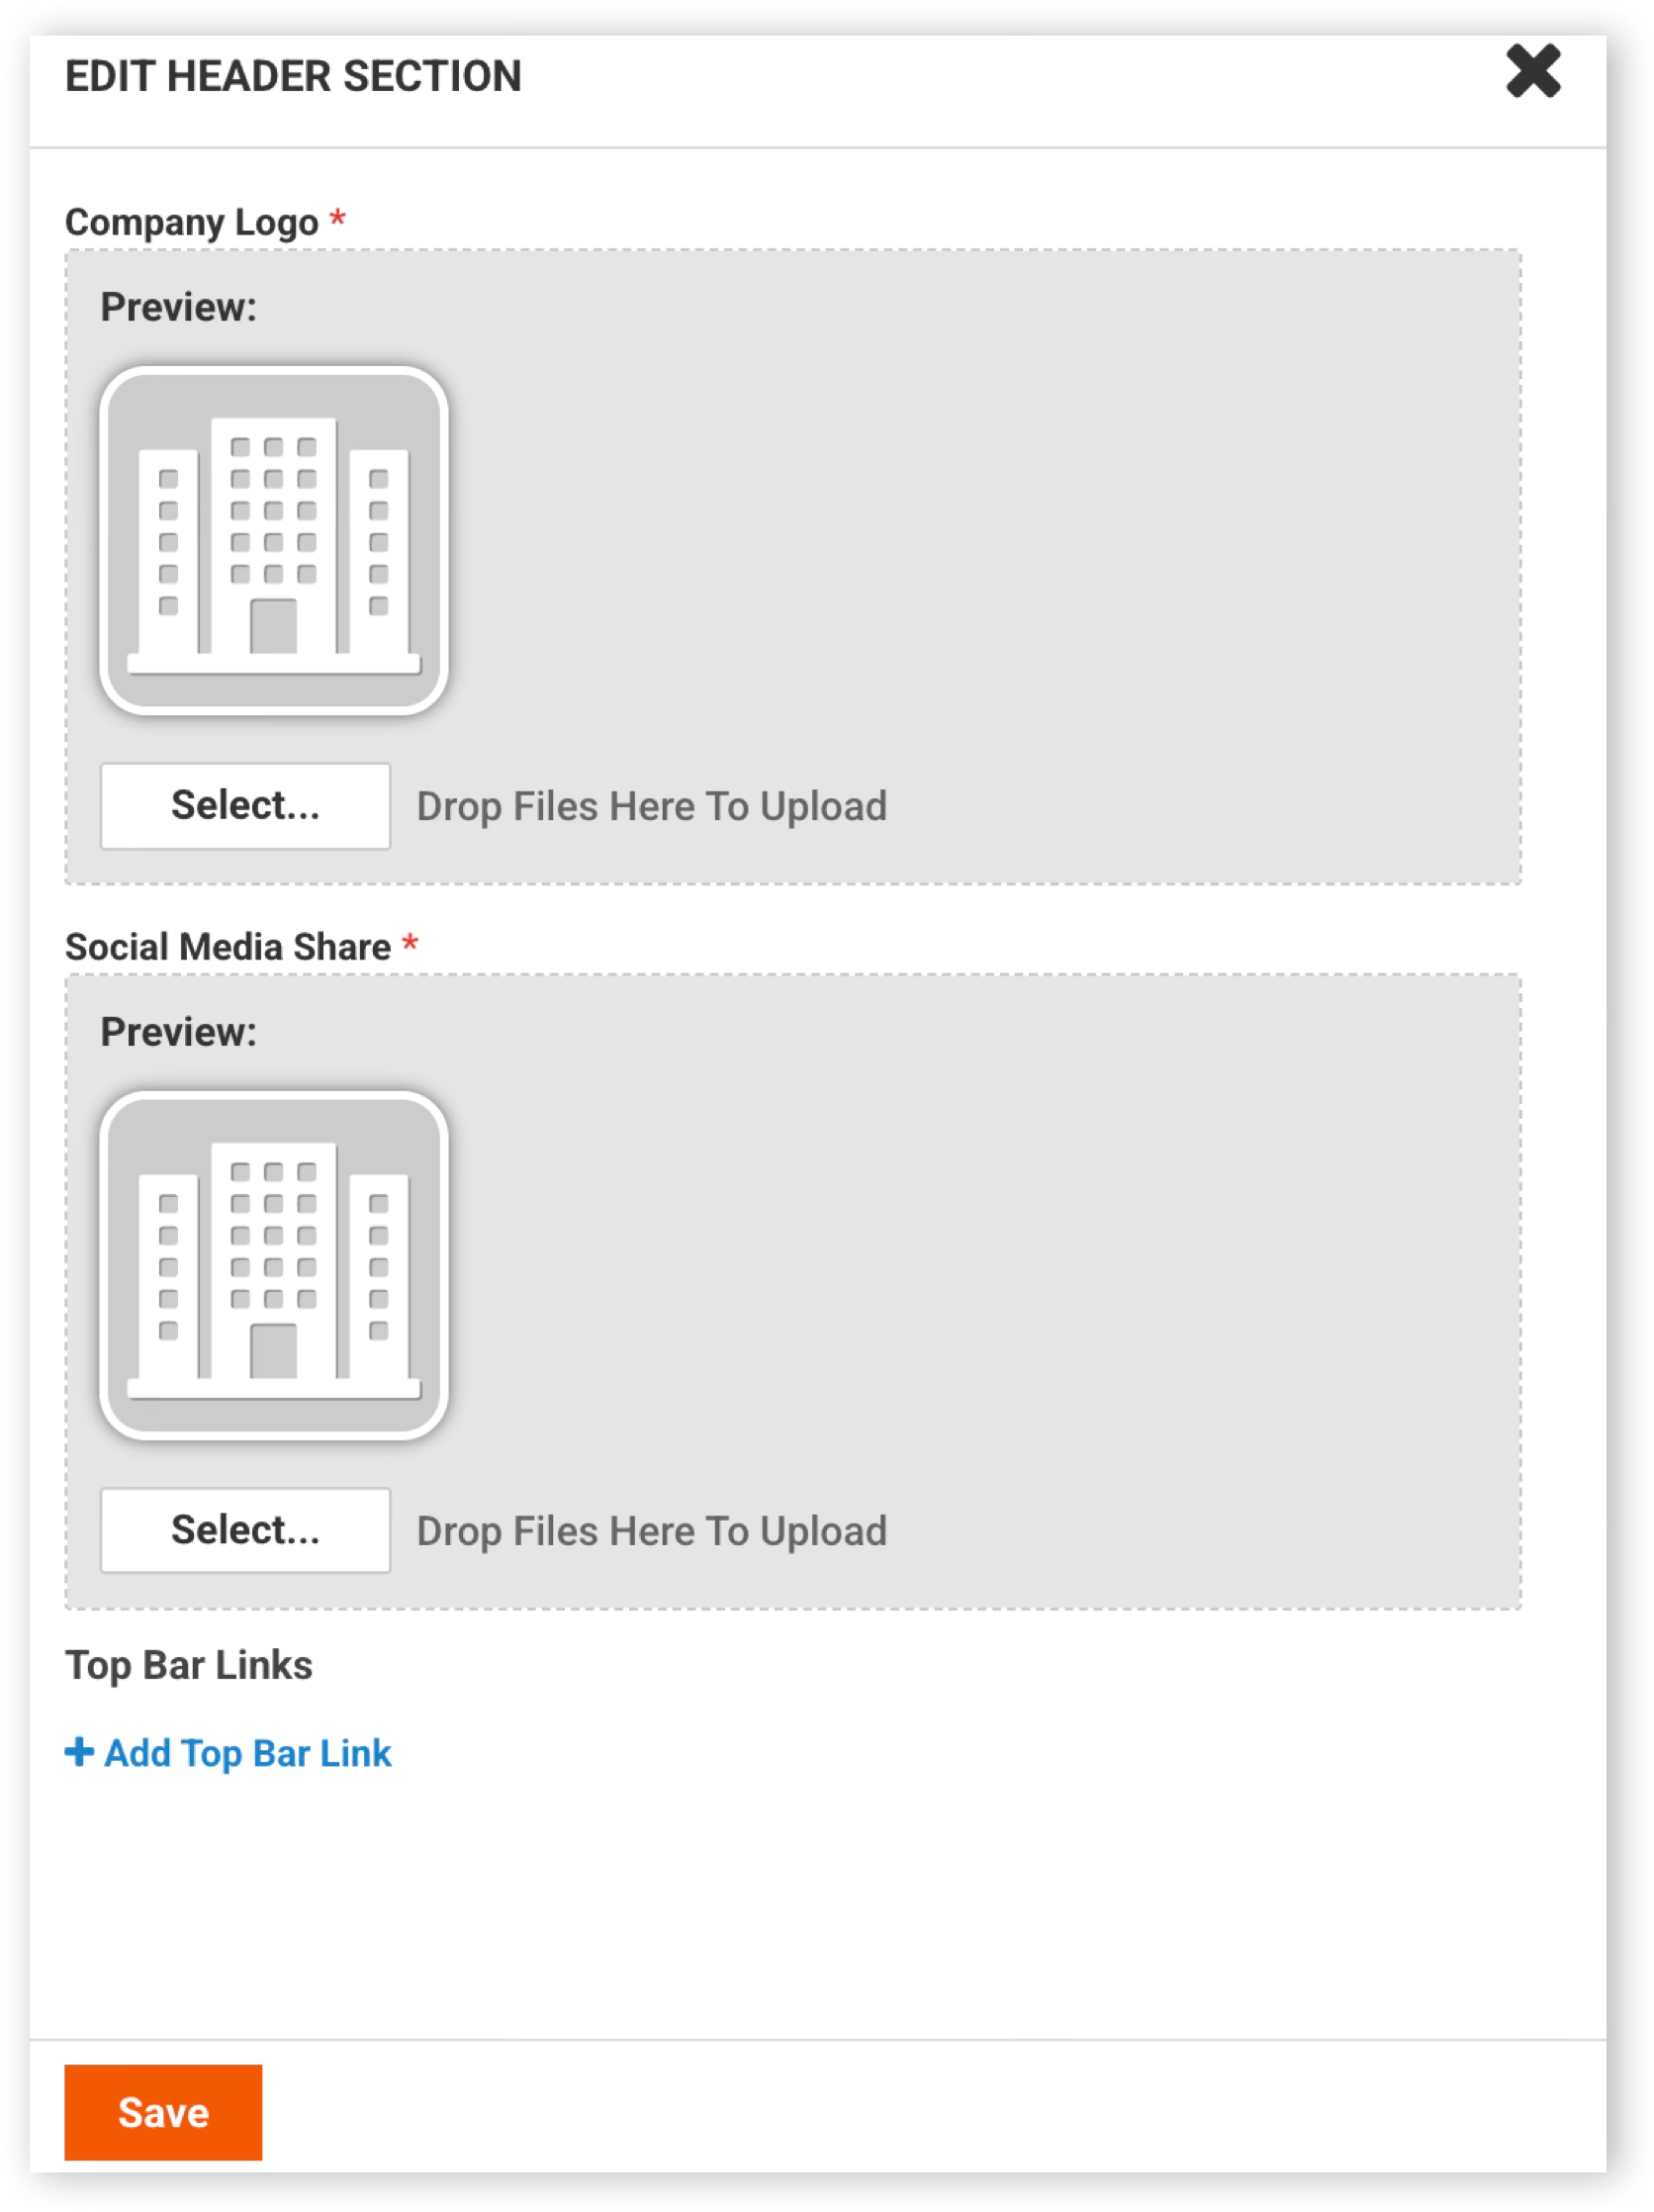
2. Change your company logo (Recommended size: 700 x 300 pixels) here by uploading your new logo
3. Click Add Top Bar Link to add more menu links
4. Click Save when you are done
5. To publish the change to your career portal, click the Save button next to the Edit Color Scheme
6. Create a name for the new career portal setting and click Publish and Save
Editing the cover images
1. Hover over the left orange tab near the cover images and click on the pencil icon

2. Add new cover images by clicking on Add and uploading the image file through the Select button (Recommended image size 1256 x 350 pixels)
3. Add Cover Image Title, Description and Image Link (Optional)
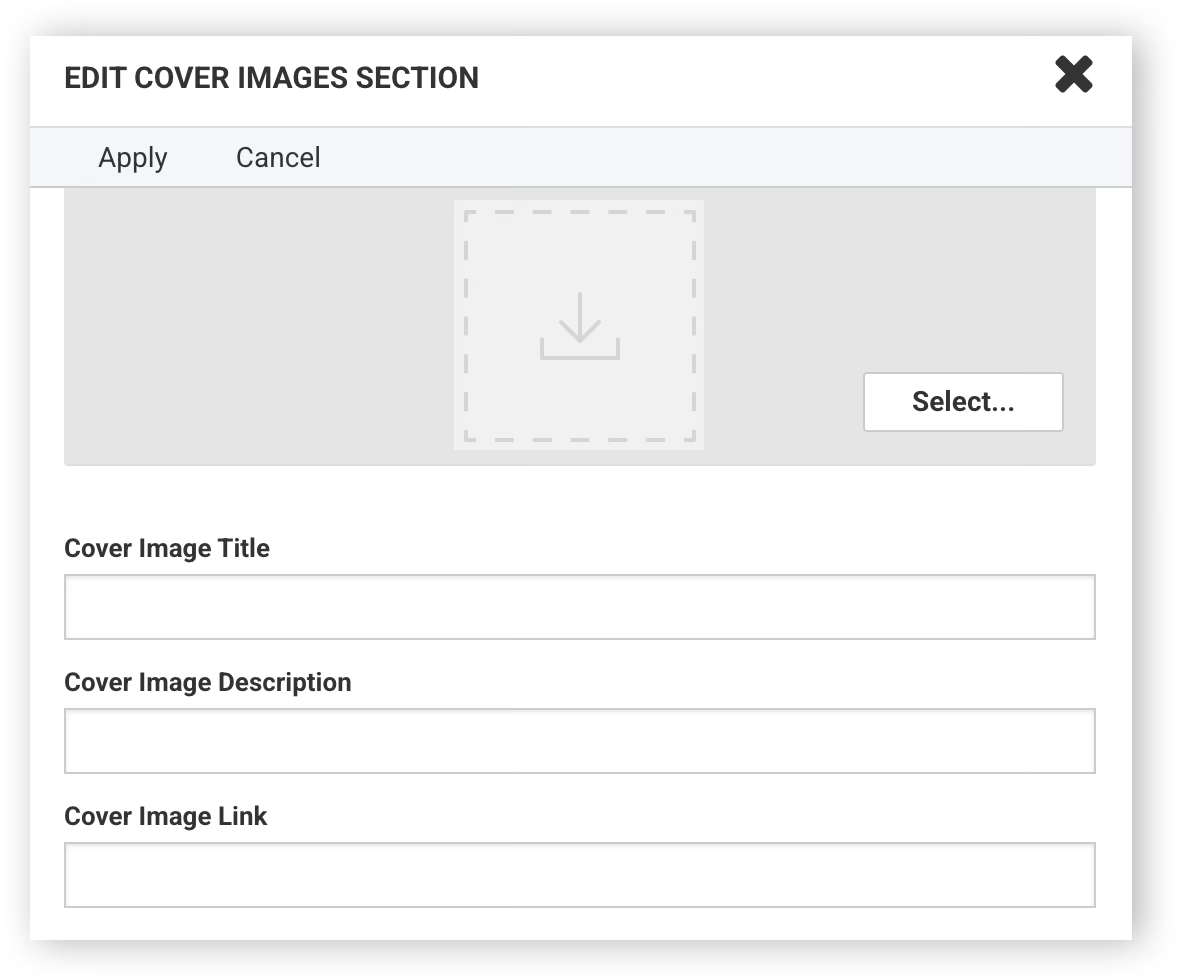
4. Click Apply and then Save when you are done
5. To publish the change to your career portal, click the Save button next to the “Edit Color Scheme”
6. Create a name for the new career portal setting and click Publish and Save
Editing the Hero section
1. Hover over the left orange tab near the hero section and click on the pencil icon
2. Change your hero text title and description and click Save when you are done
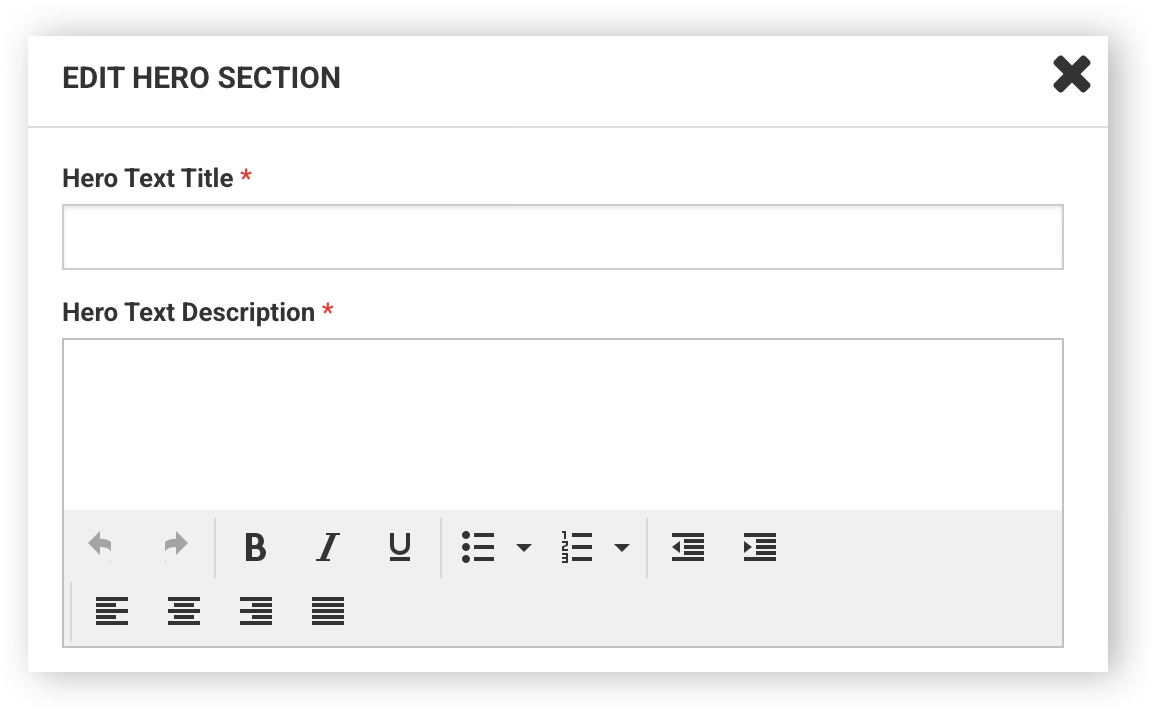
3. To publish the change to your career portal, click the Save button next to the “Edit Color Scheme”
4. Create a name for the new career portal setting and click Publish and Save
Editing the job categories
1. Hover over the left orange tab near the job categories section and click on the pencil icon
2. Hover over the job category you would like to edit and click on the pencil icon. (Recommended image size 560 x 370 pixels)
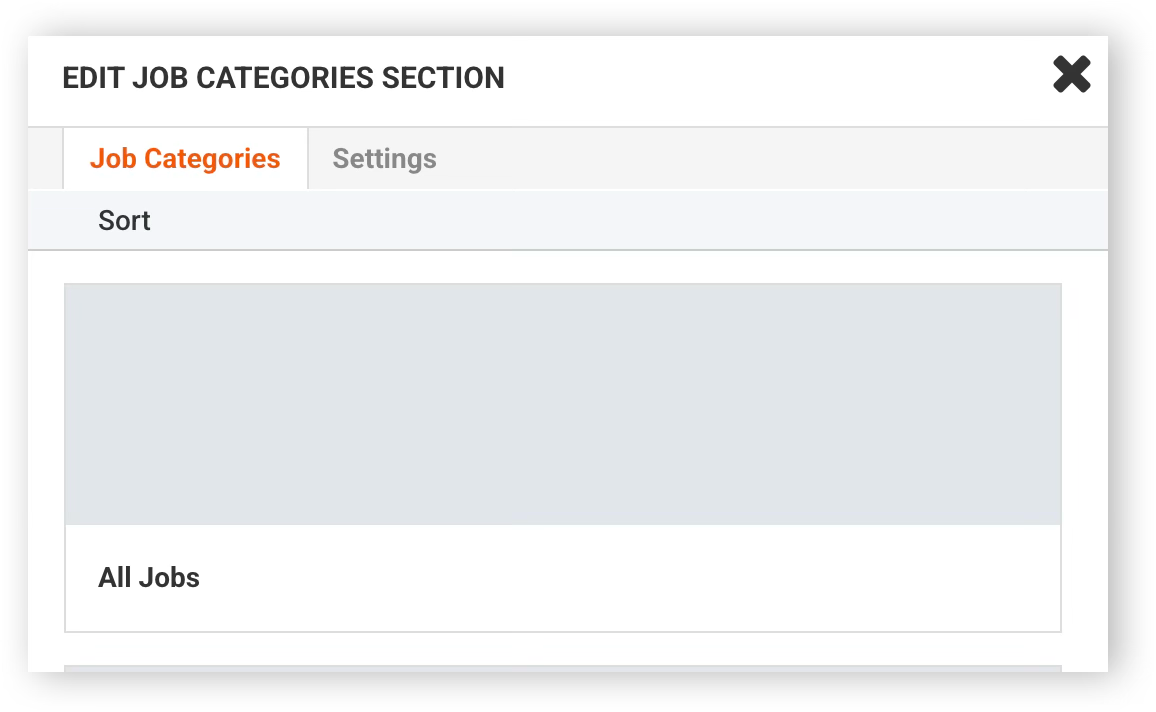
3. Make the necessary edits as deem fit and click Apply
4. To publish the change to your career portal, click the Save button next to the “Edit Color Scheme”
5. Create a name for the new career portal setting and click Publish and Save
Editing the Footer
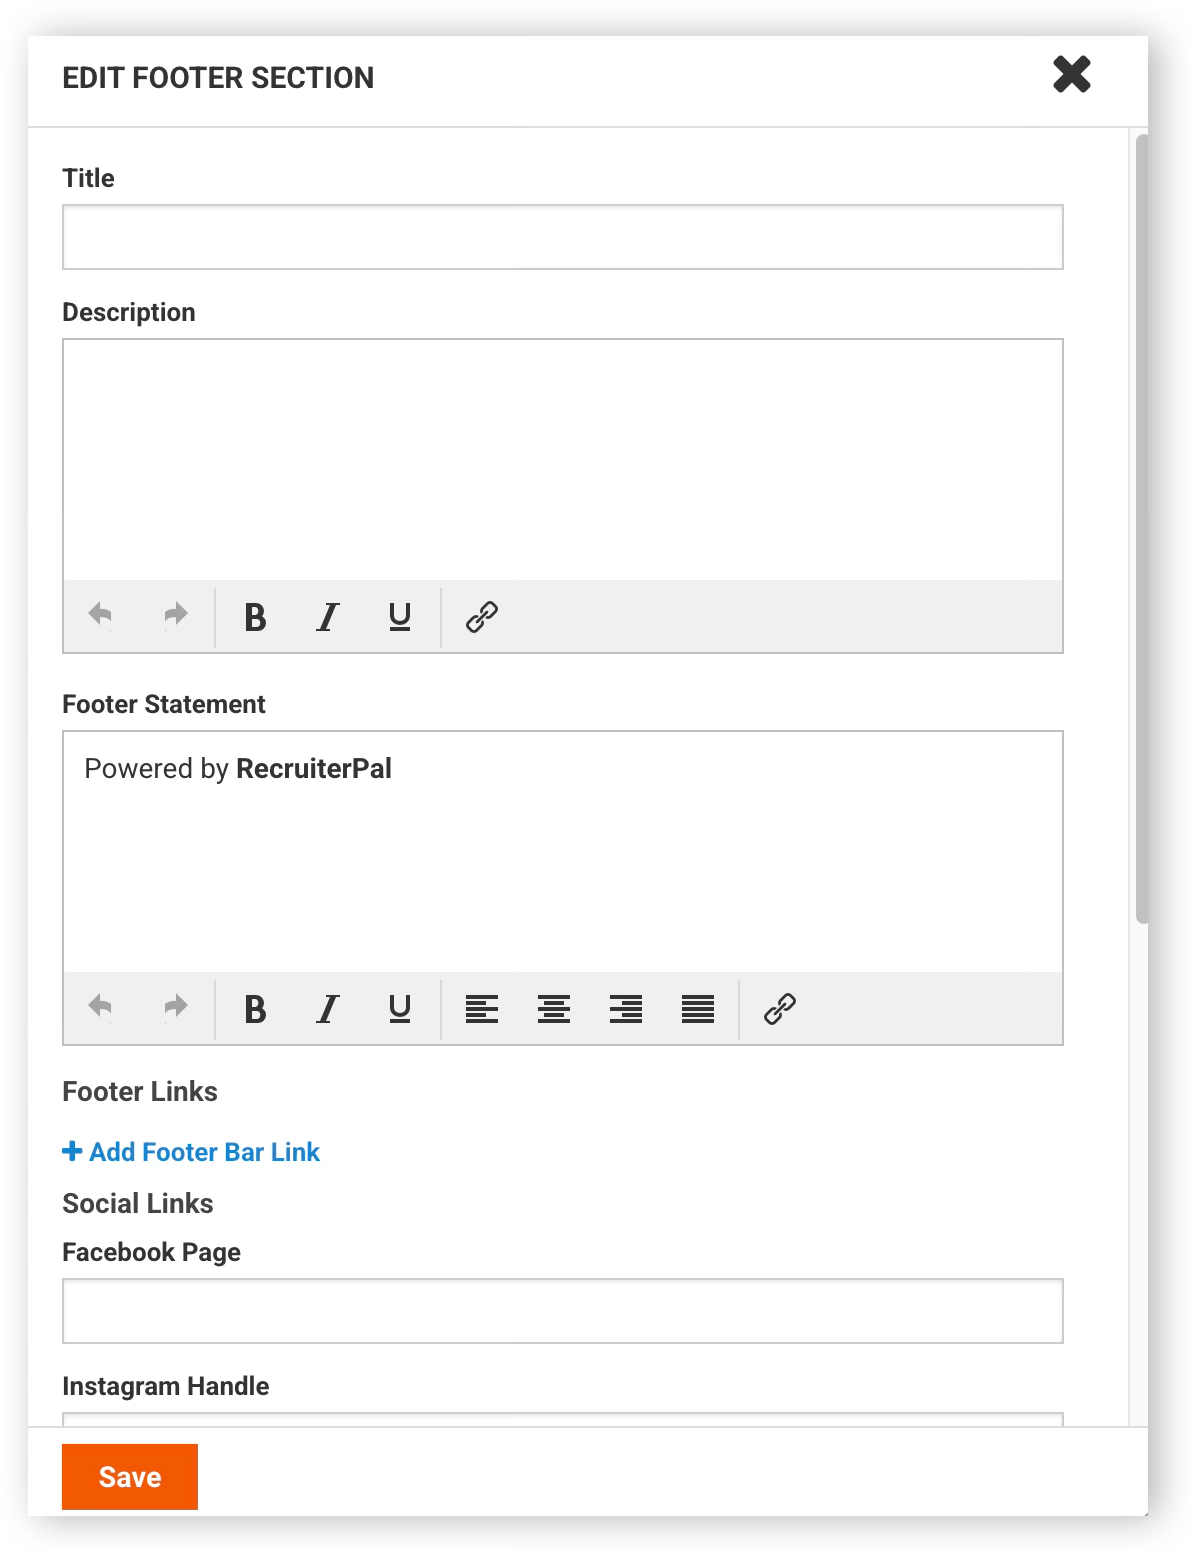
1. Hover over the left orange tab near the footer section and click on the pencil icon
2. Click Add Footer Bar Link to add more links at the footer
3. Add your company’s social media pages to display it in your footer
4. Click Save when you are done
5. To publish the change to your career portal, click the Save button next to the “Edit Color Scheme”
6. Create a name for the new career portal setting and click Publish and Save
Was this helpful?